Introduction
Before discussing how to self host, you should decide if that is really the right option. If you already have or need something well beyond a basic website, then a Managed Solution might be worth a look. From a technical aspect, getting a website online is not exceptionally complicated, but does require someone comfortable with computers and configuring applications. You will also need some basic hardware, but if you have a computer connected to the internet, that is probably enough to at least get started.
Requirements
There are a number of ways you can self host your website, the article Build a Server Lab goes into more detail regarding a setup designed for hosting websites, but also gives a lot of general information that would be helpful for even a simple self hosted situation. At a minimum, you will need a computer to install the hosting software on and the ability to make changes to your router’s configuration if you want to provide internet connectivity.
There is no one size fits all solution for this, Linux servers and software options are very popular, but unless you have an extra machine and experience with Linux, being able to use a Windows based machine to get started will usually be the easiest. There are plenty of hosting software options for Windows as well, but if the plan is to get a website you can configure yourself running with the least amount of work, our suggestion would be to start with WAMP or XAMPP, both can be installed on any Windows computer.
Installing XAMPP
Windows Version Shown Here, Linux and OSX Versions are also available.
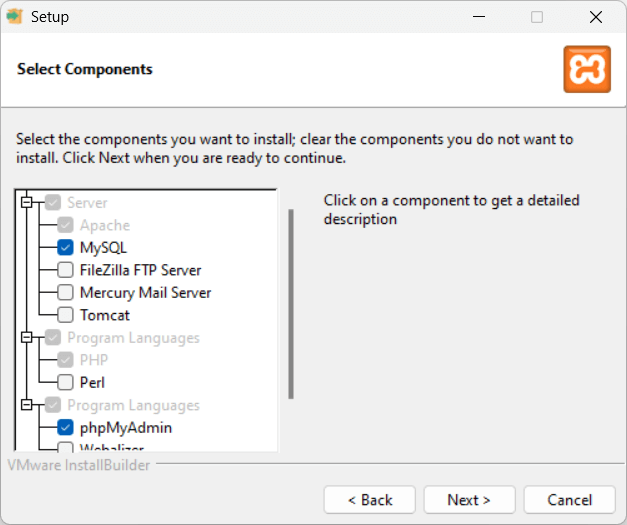
In addition to the required components (Apache & PHP), you should select:
- MySQL (or MariaDB)
- PHPMyAdmin
You can also select any additional components you may need, such as the FTP Server.
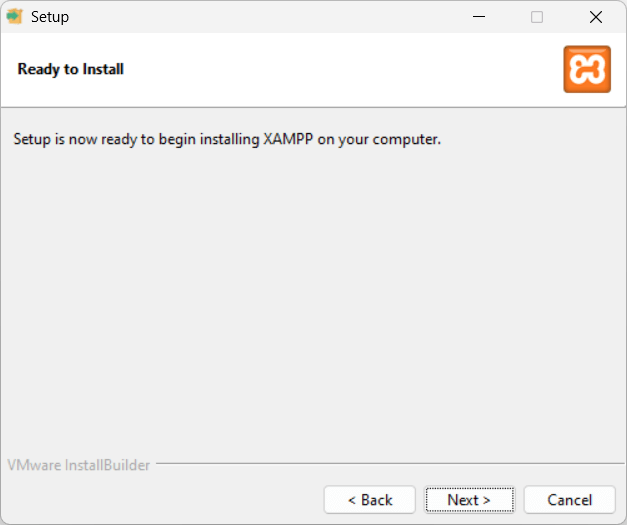
Once the options you need are selected, click Next.
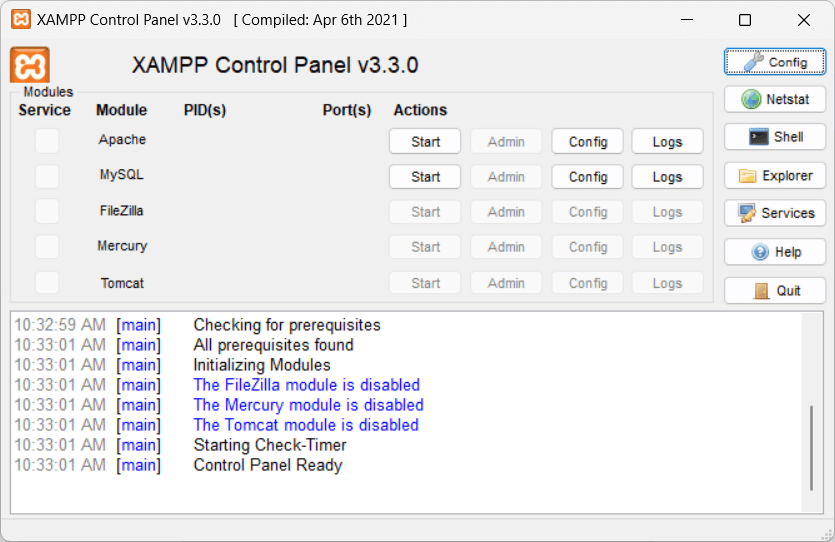
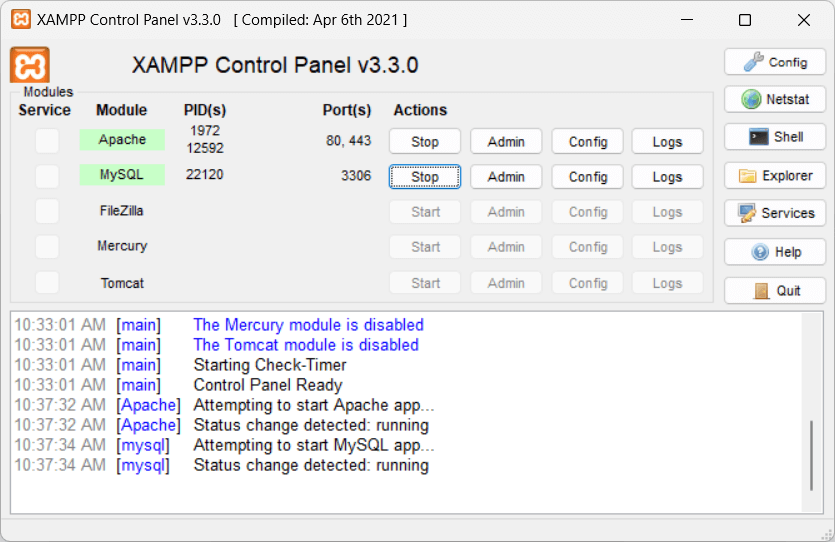
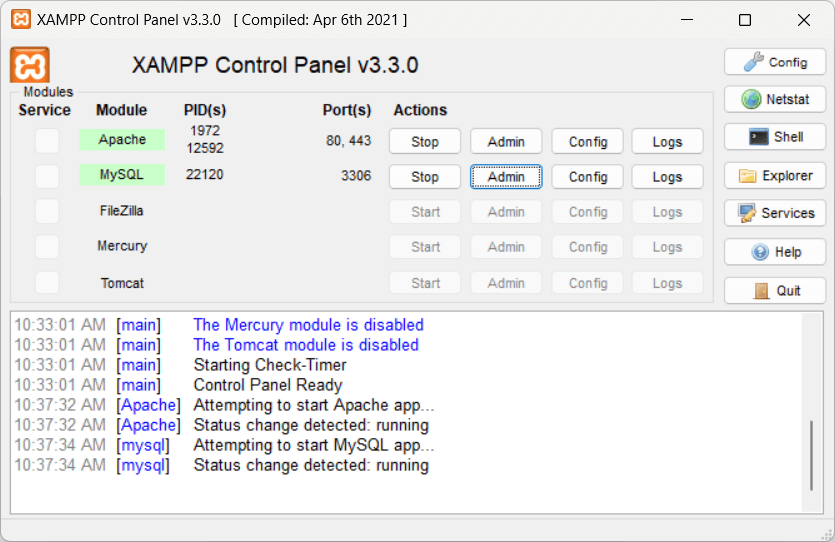
Start & Test your XAMPP Server
- Apache
- MySQL (or MariaDB)
Start the modules using the XAMPP Control Panel:
http://localhost/ in a browser.If you see a page similar to the image below, you have a functioning XAMPP Server.

Adding the ClassicPress CMS to the Server
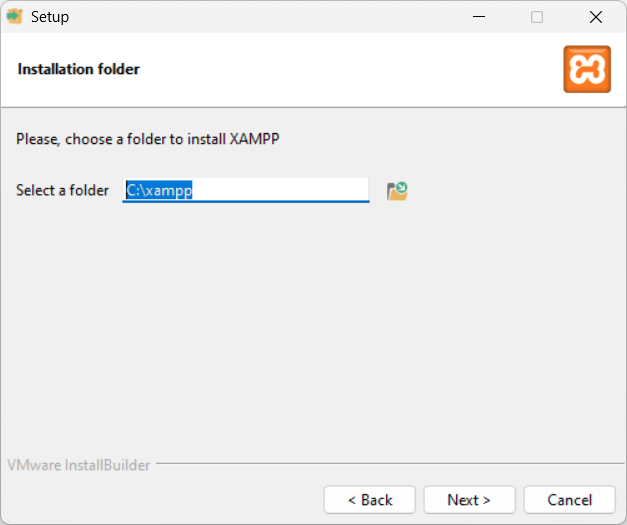
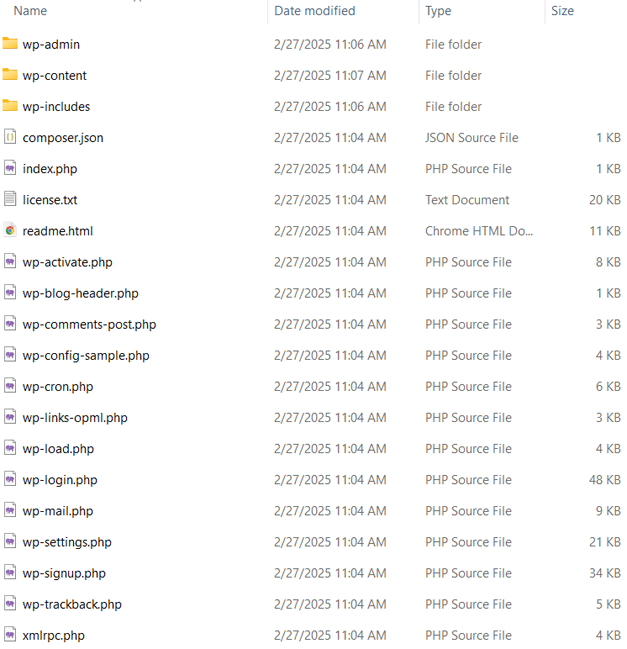
Now in Windows, navigate to the folder where you installed XAMPP.
If you stayed with the installation default that should be
C://xampp.Find the htdocs subfolder and extract the zip file you downloaded from ClassicPress.net into it.
* You can safely delete the existing files and folders in htdocs or you can leave them alone (we deleted them)
If you deleted them as we have, the folder should now look like this.
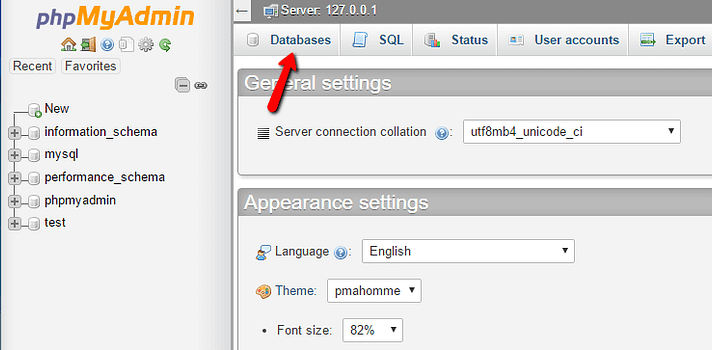
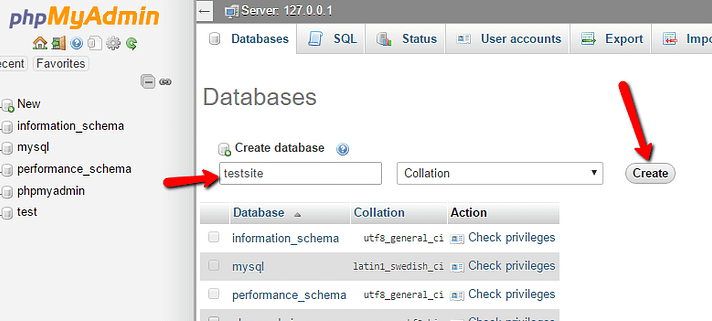
Create a Database for ClassicPress
Launch phpMyAdmin by clicking Admin for the MySQL Module:
Run the ClassicPress Installer
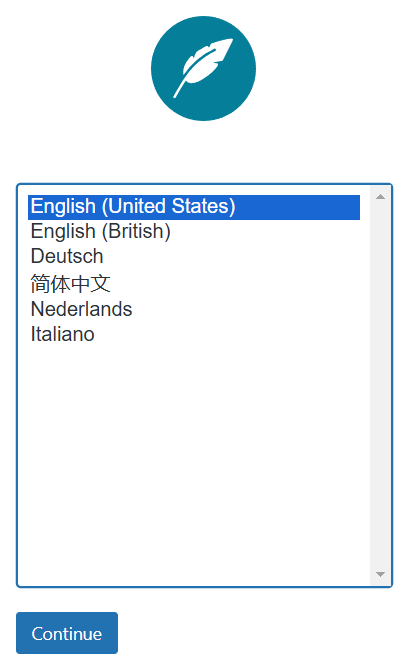
http://localhost/ and be presented with the ClassicPress installer.Select your desired language and then click Continue.
- Database Name = Name of the database created with phpMyAdmin (testsite)
- Username = root
- Password = leave blank
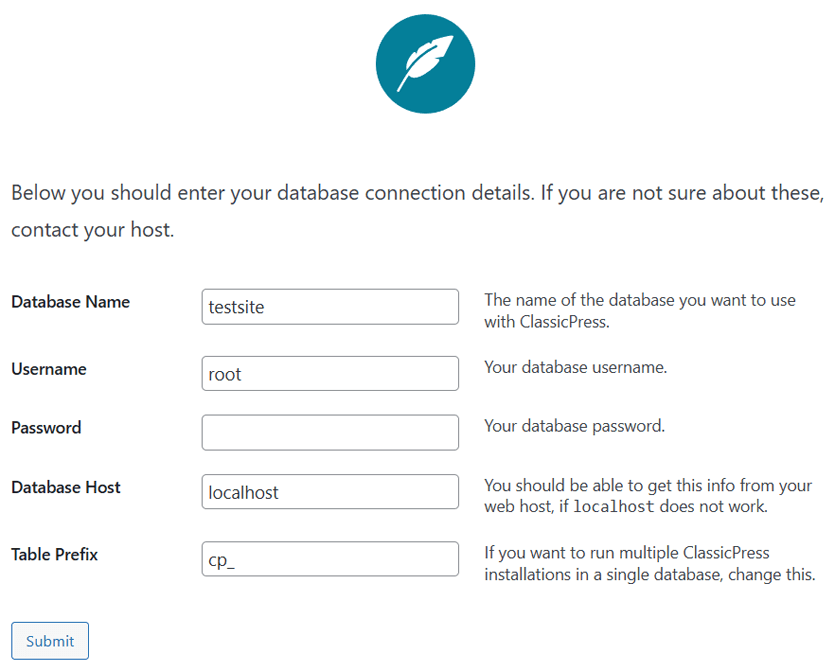
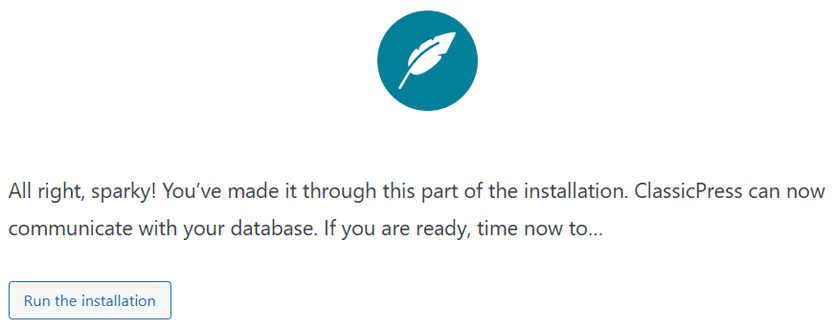
When finished, click Install ClassicPress.

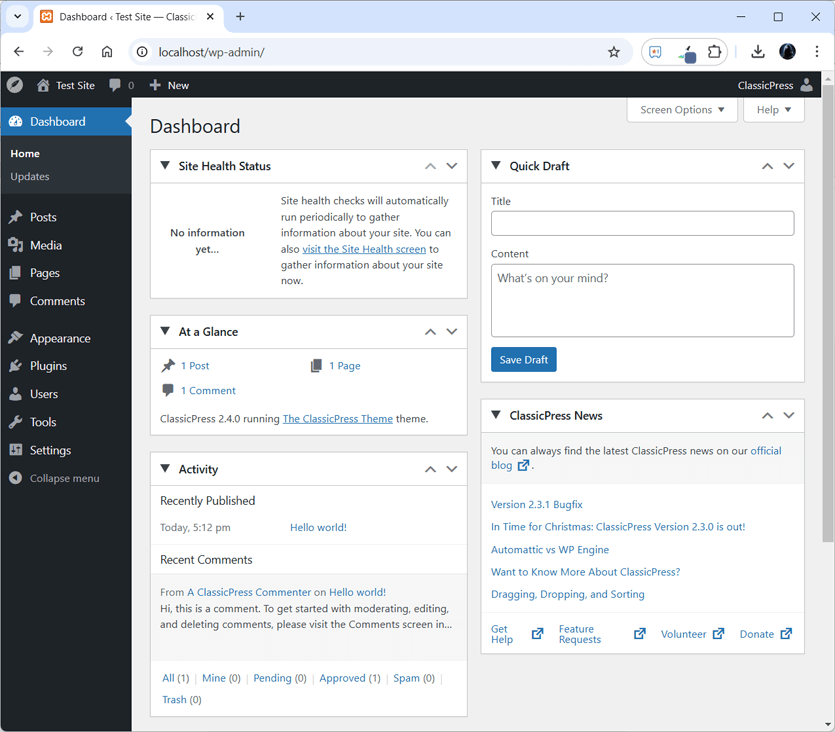
Click Log In to access your site.
http://localhost/ and can start to develop.
Putting your Website Online
Address Security Issues
XAMPP is a quick and easy way to get started self hosting and developing websites, but it is not really the most secure way to publish a public facing / internet connected website. There are also considerations like bandwidth restrictions and the speed of your connection that you need to be aware of once your website is connected to the internet.
Many options exist to migrate your self hosted website to more secure, dedicated equipment; but you can opt to simply upgrade your test server, especially if your website is still fairly basic and does not even contain sensitive data that could be stolen.
That said, there are many articles on the internet that explain how to secure or harden your XAMPP installation. The main issues include the lack of a database root user password and PHPMyAdmin being in a public and predicable location. I must stress the importance of using strong passwords that are unique to each application or login, machine security is also important, if someone can just walk up to your webserver or browse to it on your local network, it is not secure. Beyond that, you can get security plugins like WordFence for WordPress that provide another layer of protection.
Once you put your website online you are also going to need to look at obtaining an SSL Certificate (allowing https). A search of how to setup a Certificate for your XAMPP Server using Let’s Encrypt / CertBot or SSLforFree should put you on the right track though.
Domain, IP & Port Forwarding
The final steps in getting online involve configuration changes so computers on the internet can access your server. This can end up being a bit involved, most websites use a Domain Name and DNS to point web traffic at the IP Address of the server. You can just determine what your IP Address is and use that to access your website, but in most cases your IP Address is Dynamic, meaning your Internet Service Provider may issue you a new IP at any time, requiring additional configuration to update your setup when the IP Address changes. This might sound confusing, so let’s try to break it down some:
You can get a free Domain Name, but you might be better off with a .com name, which can easily be obtained for under $20 a year and I think they are worth that minimal expense. Some domain providers may include or offer an upgrade that includes DNS settings for your domain. If not, free options are out there for that also; However, like a Domain, having a reliable Dynamic DNS provider might also be worth the price as very reasonable options exist for that as well. So, while you can operate a website using just the IP Address, for the sake of this article, we are going to assume you have decided to get a Domain Name and Dynamic DNS provider for your website.
Now it is time to configure your router and server computer. Most likely, in a situation similar to how your Internet Provider issues a Dynamic IP Address to you, your Router probably uses DNS on your local network to provide the IP Address for your computer(s). Of course, that also means it is possible for your Server to be issued a new IP Address, to avoid that, we should set up a Persistent or Static IP Address somehow. Also, the WordPress General Settings for WordPress Address and Site Address may need to be changed to your Domain Name if still set to localhost or the Server IP Address. This can also be done by editing or adding the following wp-config.php file entries:
define( 'WP_HOME', 'https://your_domain.com' );
define( 'WP_SITEURL', 'https://your_domain.com' );
The issue now is that there are so many router/firewall devices and applications out there that trying to assemble generic instructions is not realistic. You will need to determine the exact model of your router and figure out how to login and make changes. Some routers will have features that easily allow setting the IP of computers on your local network, others will require that you set a range for Static IP’s, then make the change at the Server Computer. Another handy feature many routers have is a way to keep your Dynamic IP updated, usually called Dynamic DNS or something similar. Once you know what router you have and are able to login, here is that basic outline of how you set all this up so people visiting your domain will be directed to your website on the server computer.
The provider where you obtained your Domain Name should have a control panel where you can configure the DNS Server for your Domain. Usually they will have a DNS option, but unless they have the ability to handle Dynamic DNS / IP Updates, you may need to set up a separate DNS Service that handles your Dynamic IP Address Updates. This is where some checking around for price and features when getting your Domain Name is worth the time spent. I will mention though, that we use one service for Domain Names, and another for DNS; let price, features and ease of use be your guide.
The way you handle a Dynamic IP will also vary based on your DNS Service and Router. A best case would be that your Domain or DNS Provider has the option and instructions to help you set this up. The other end of the equation is your Router, many have the settings needed to take care of alerting your DNS Service that the IP has changed. Searching how to set up Dynamic DNS with your Router and DNS Service may be required. If your equipment or provider(s) do not have the options or clear instructions, it can be tricky to get Dynamic IP Updates working, but you can still set everything up to use your current WAN IP Address and circle back to this later Until your IP Address actually changes everything will work even if Dynamic DNS is not properly configured.
Now that your Domain has a DNS configured to point at your WAN IP Address, the final step is to set your Router to send website traffic to your server. This is usually done using Port Forwarding, which is why the IP Address of your Server should not change – you also need to know what the Server IP is during these steps. You might need to search on setting up an IP Address if this not something you have done before. For this example, I am going to say our Server Computer is assigned an IP of 192.168.0.10
As you can expect, different routers will have the Port Forwarding Settings configured in different ways, the goal is to Forward ALL Traffic from WAN Ports 80 & 443 to your Server (192.168.0.10). You will also need to insure that neither the Router nor the Server has a Firewall blocking those ports. If you can visit your website from a different computer than the Server by using the Domain Name, then it is configured properly. If you cannot, try to use another computer on the same local network to access the website using the IP Address (http://192.168.0.1 in our example). If you can only access the website from the Server, double check that a firewall on the Server is not blocking, If you can access from the local network by IP, but not from the internet using the Domain Name, then you will need to check and troubleshoot any Router, DNS Service or Domain Settings.